

Managing waitlist entries
View waitlist from the calendar.
Quick answer: Open a full session on the calendar to see who is on the waitlist, manually notify the next person, or remove an entry.
Before you start
- Waitlist enabled
- At least one fixed-session or one-off service
Overview
When a class or event is full, customers can join the waitlist from your booking page. From the calendar you can see the queue for any session, notify someone manually, or remove entries you no longer need.
- Waitlist appears on full capacity sessions
- Entries are ordered first-come
- Up to 10 customers per slot
- Automatic emails fire when spots open — you can also notify manually
Before you start
Note
Waitlist only applies to fixed-session and one-off services with capacity — not flexible 1:1 appointments.
Step-by-step
Open the calendar
Go to Calendar and find the session that is full or has a waitlist.
Look for: Calendar
Click the session
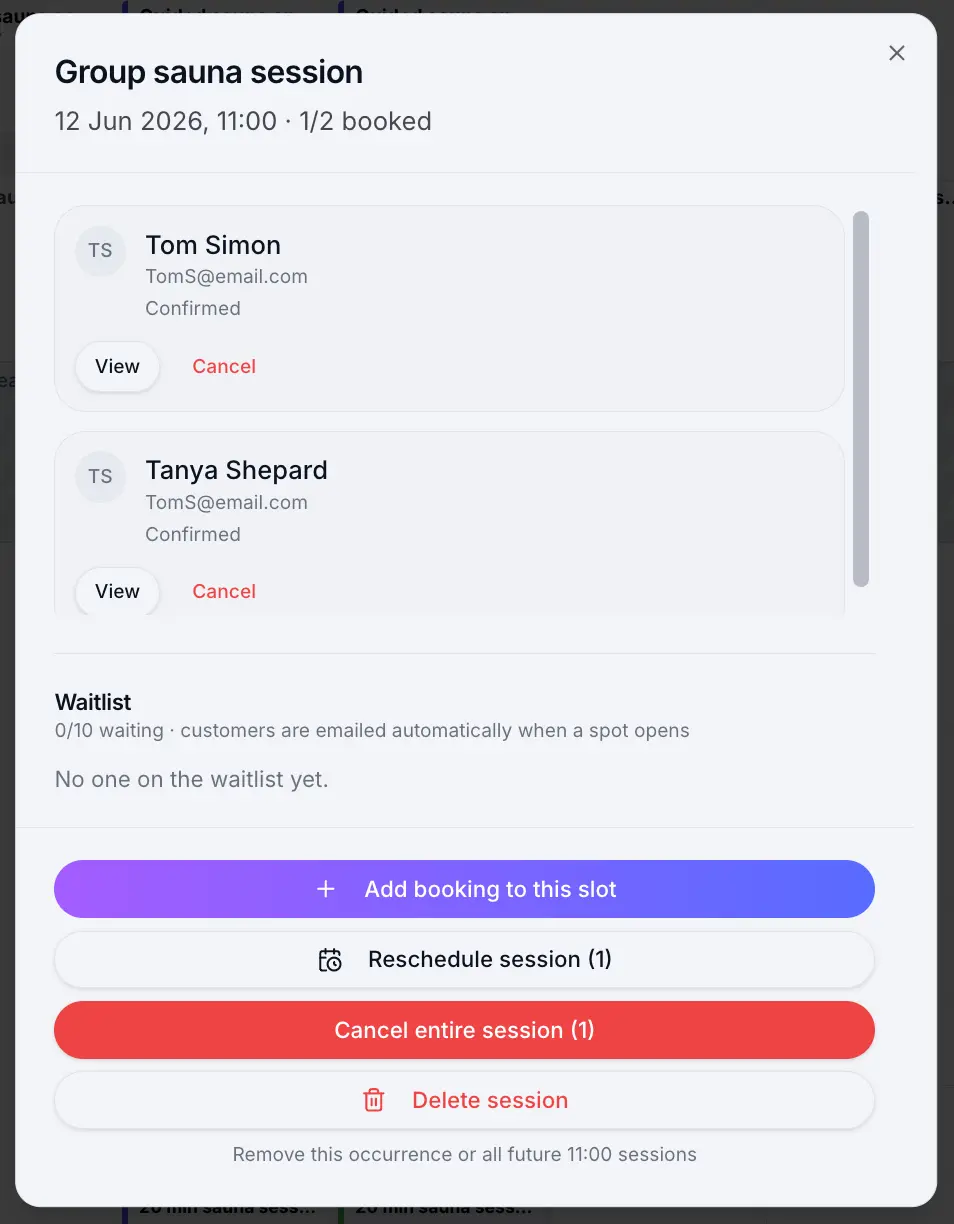
Open the group slot dialog to see bookings and the waitlist section.
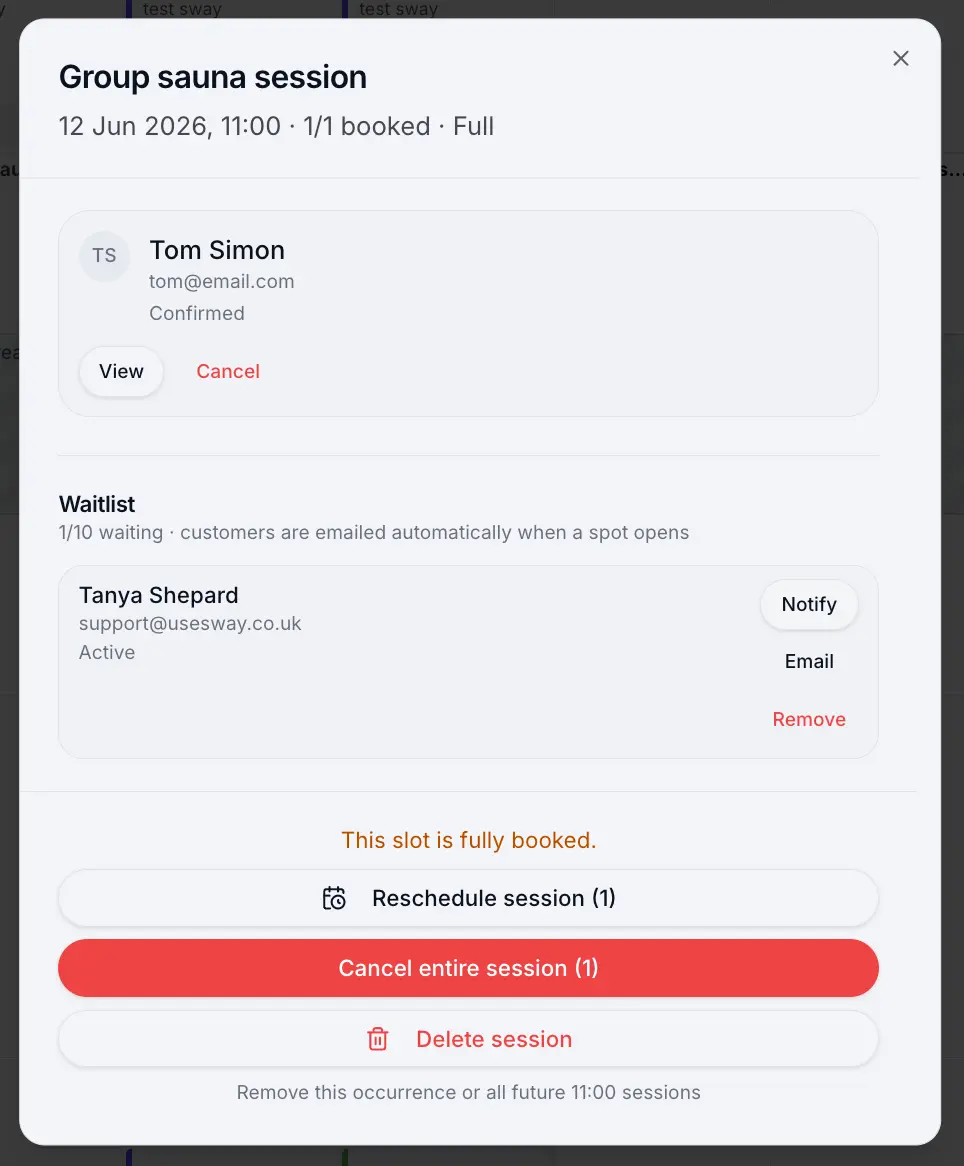
Each entry shows name, email, status, and how many times they were notified. Notify or remove an entry
Use Notify to send the spot-available email immediately. Use Remove to take someone off the list without notifying them.
Look for: Notify
What happens next
When a booking is cancelled, Sway automatically emails the first active waitlist entry (subject to your minimum notice and cooldown settings). If they don't book, the next person can be notified after the cooldown.
Waitlist emails & timing rulesRead →Common questions
Frequently asked questions
Yes. Staff with calendar access can view and manage waitlist entries the same as owners and admins.
Related articles
Waitlist
Waitlist overview
Let customers join a waitlist when a session or event is full, and notify them when a spot opens.
Waitlist
Waitlist settings
Turn on waitlist, set minimum notice and re-notification cooldown.
Calendar & bookings
Managing group slots
View capacity, add bookings, and manage everyone in a shared session slot.
Still need help?
If this article didn't answer your question, search the help centre or contact our support team.
Sign in to open a tracked support ticket, or use the contact form.