

Go-live checklist
Everything to check before sharing your booking page with customers.
Quick answer: Before going live: complete your profile, set hours, add services, connect Stripe if taking payments, and test a booking on your public page.
Overview
Use this checklist before you share your Sway booking link. A quick test booking catches most setup issues before customers see them.
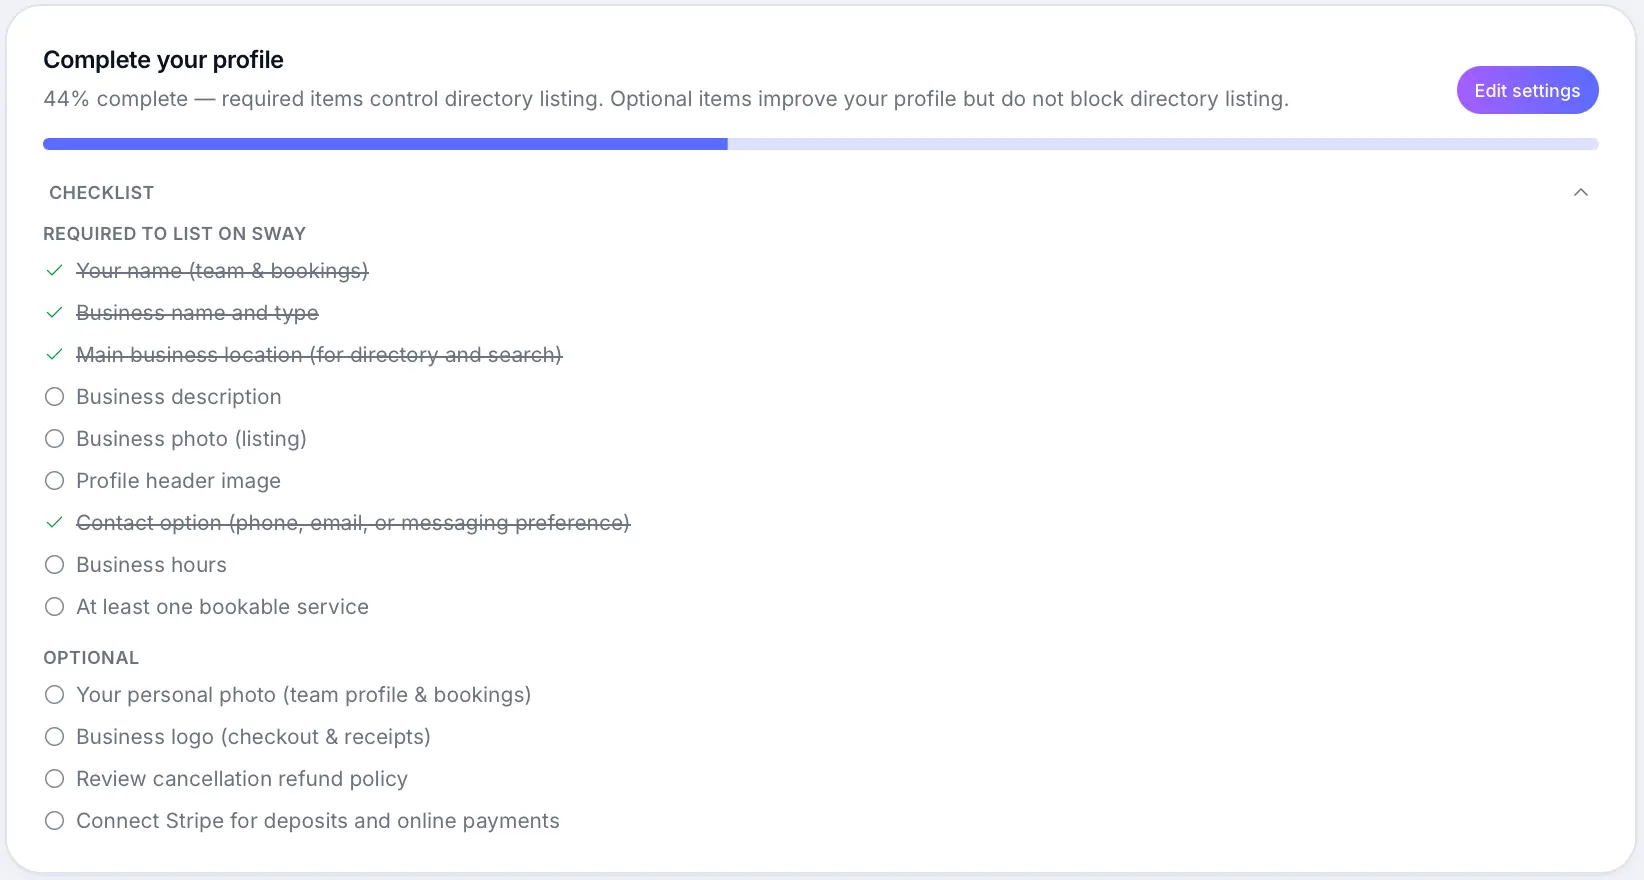
Checklist
Business profile complete
Name, contact details, timezone, and refund cutoff are set.
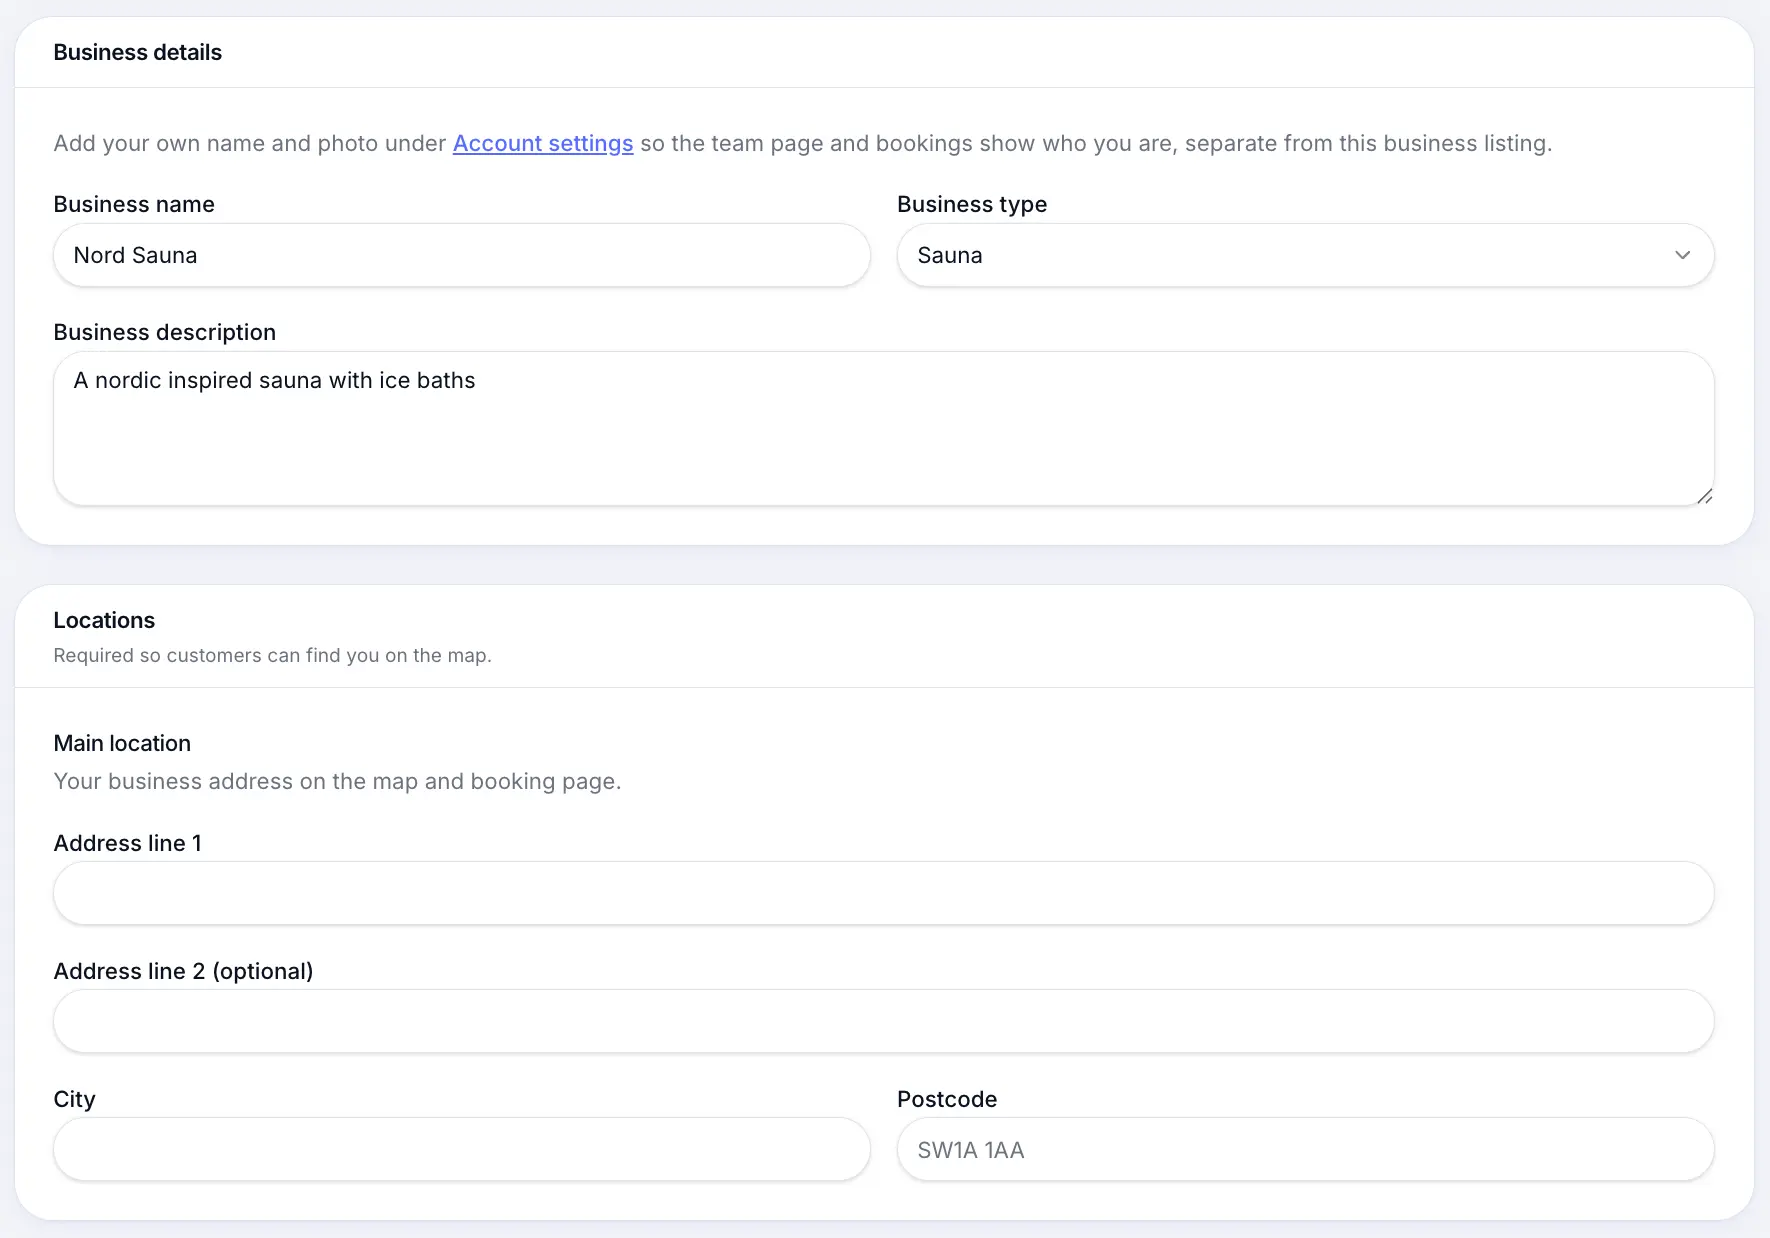
Fill in profile details customers and emails rely on. Business hours and scheduling
Open days, client start times, and booking horizon match how you work.
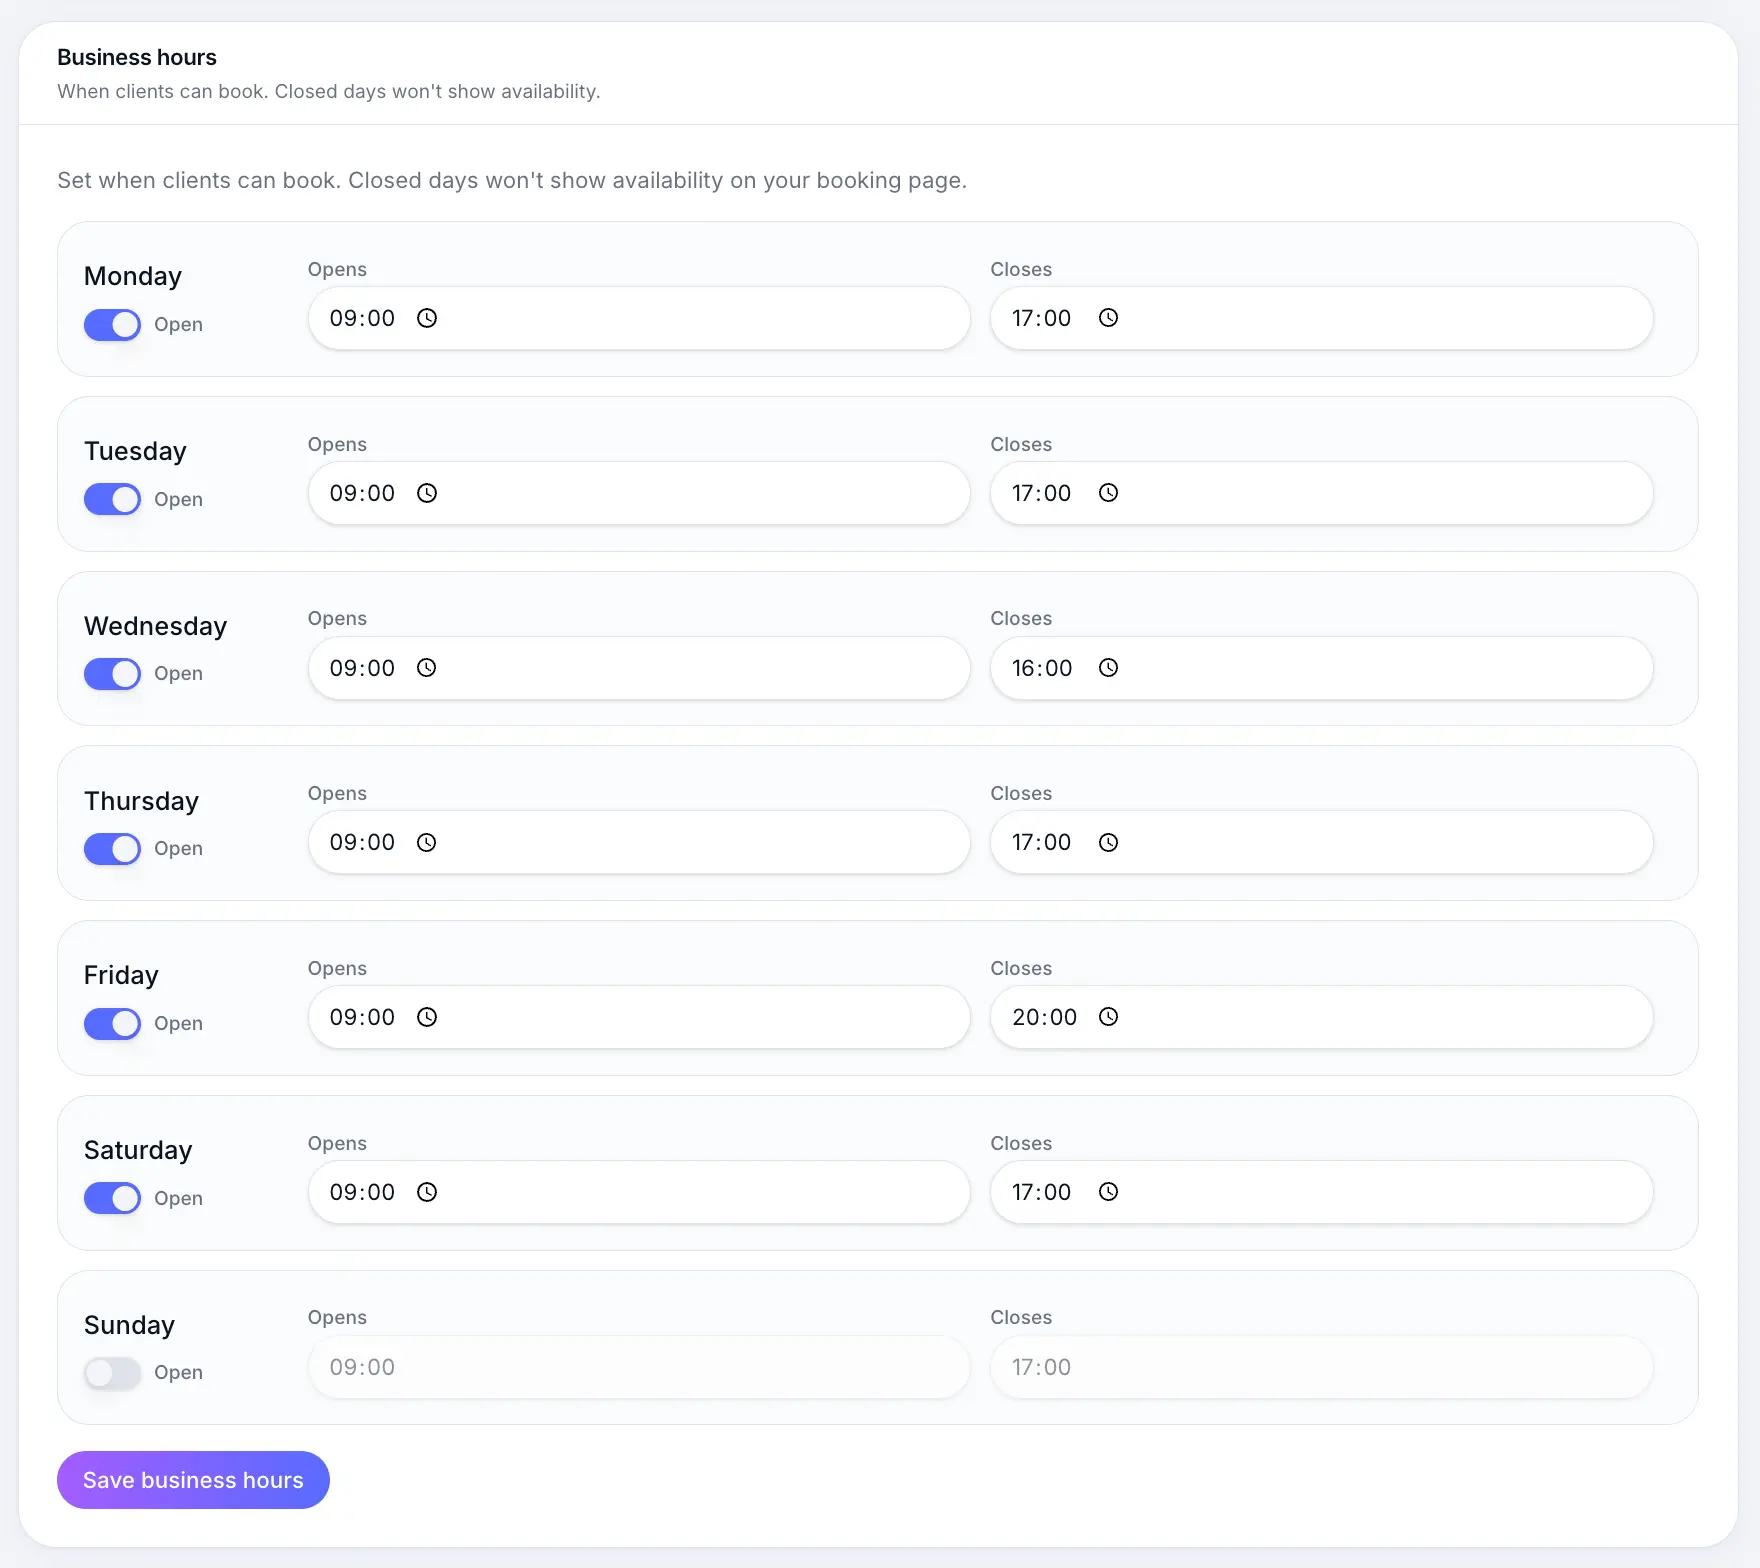
Set open days and times under Settings → Scheduling. At least one published service
Each service has pricing, duration, and scheduling configured.
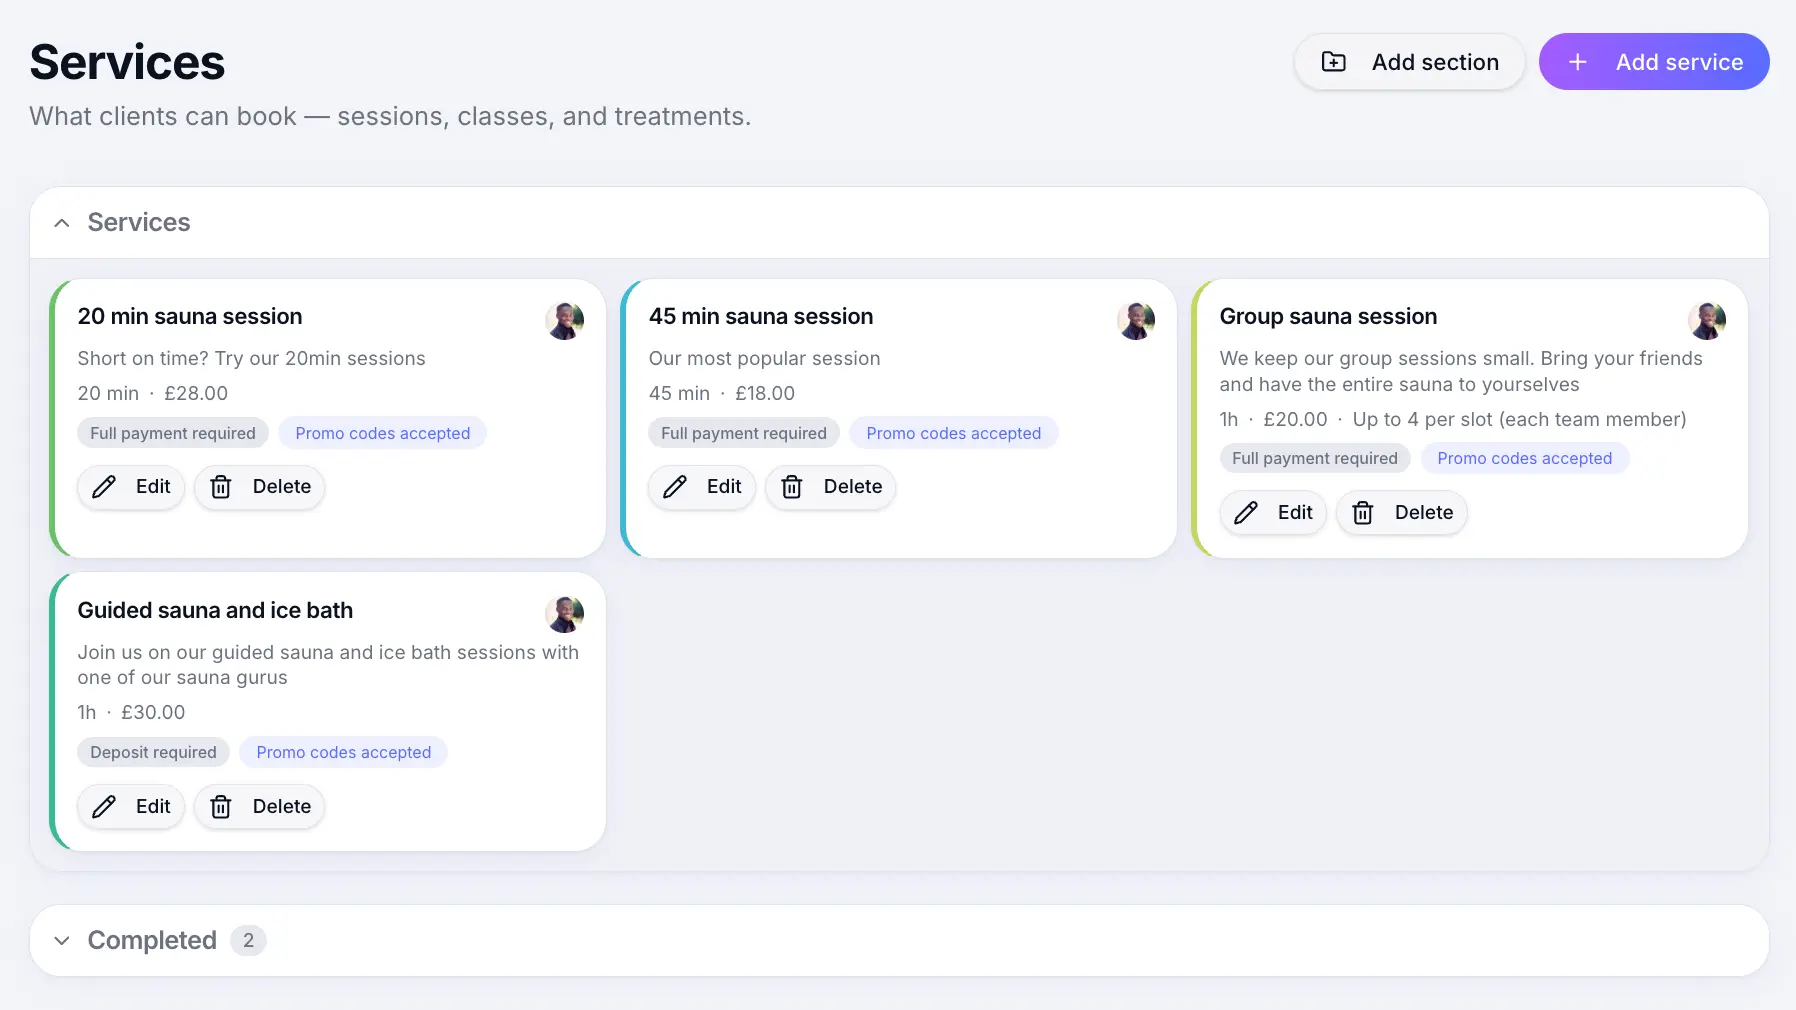
Customers can only book published services. Stripe connected (if taking payments)
Required for deposits and full payment at booking.
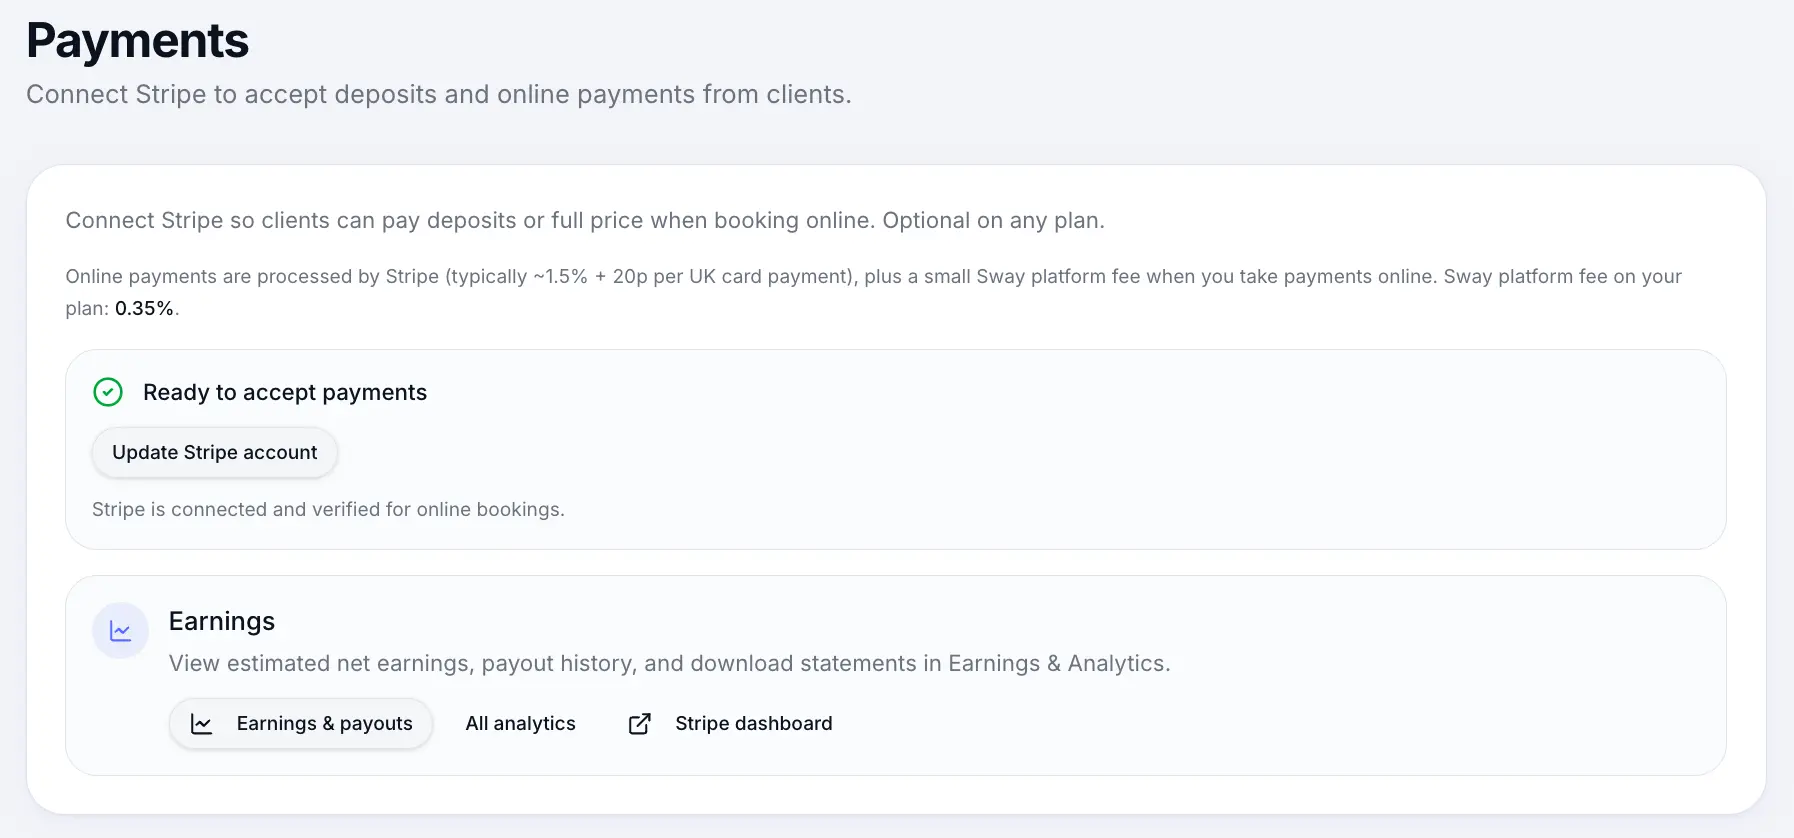
Payments settings should show Ready to accept payments. Test booking end-to-end
Open your public link in a private window and complete a test booking.
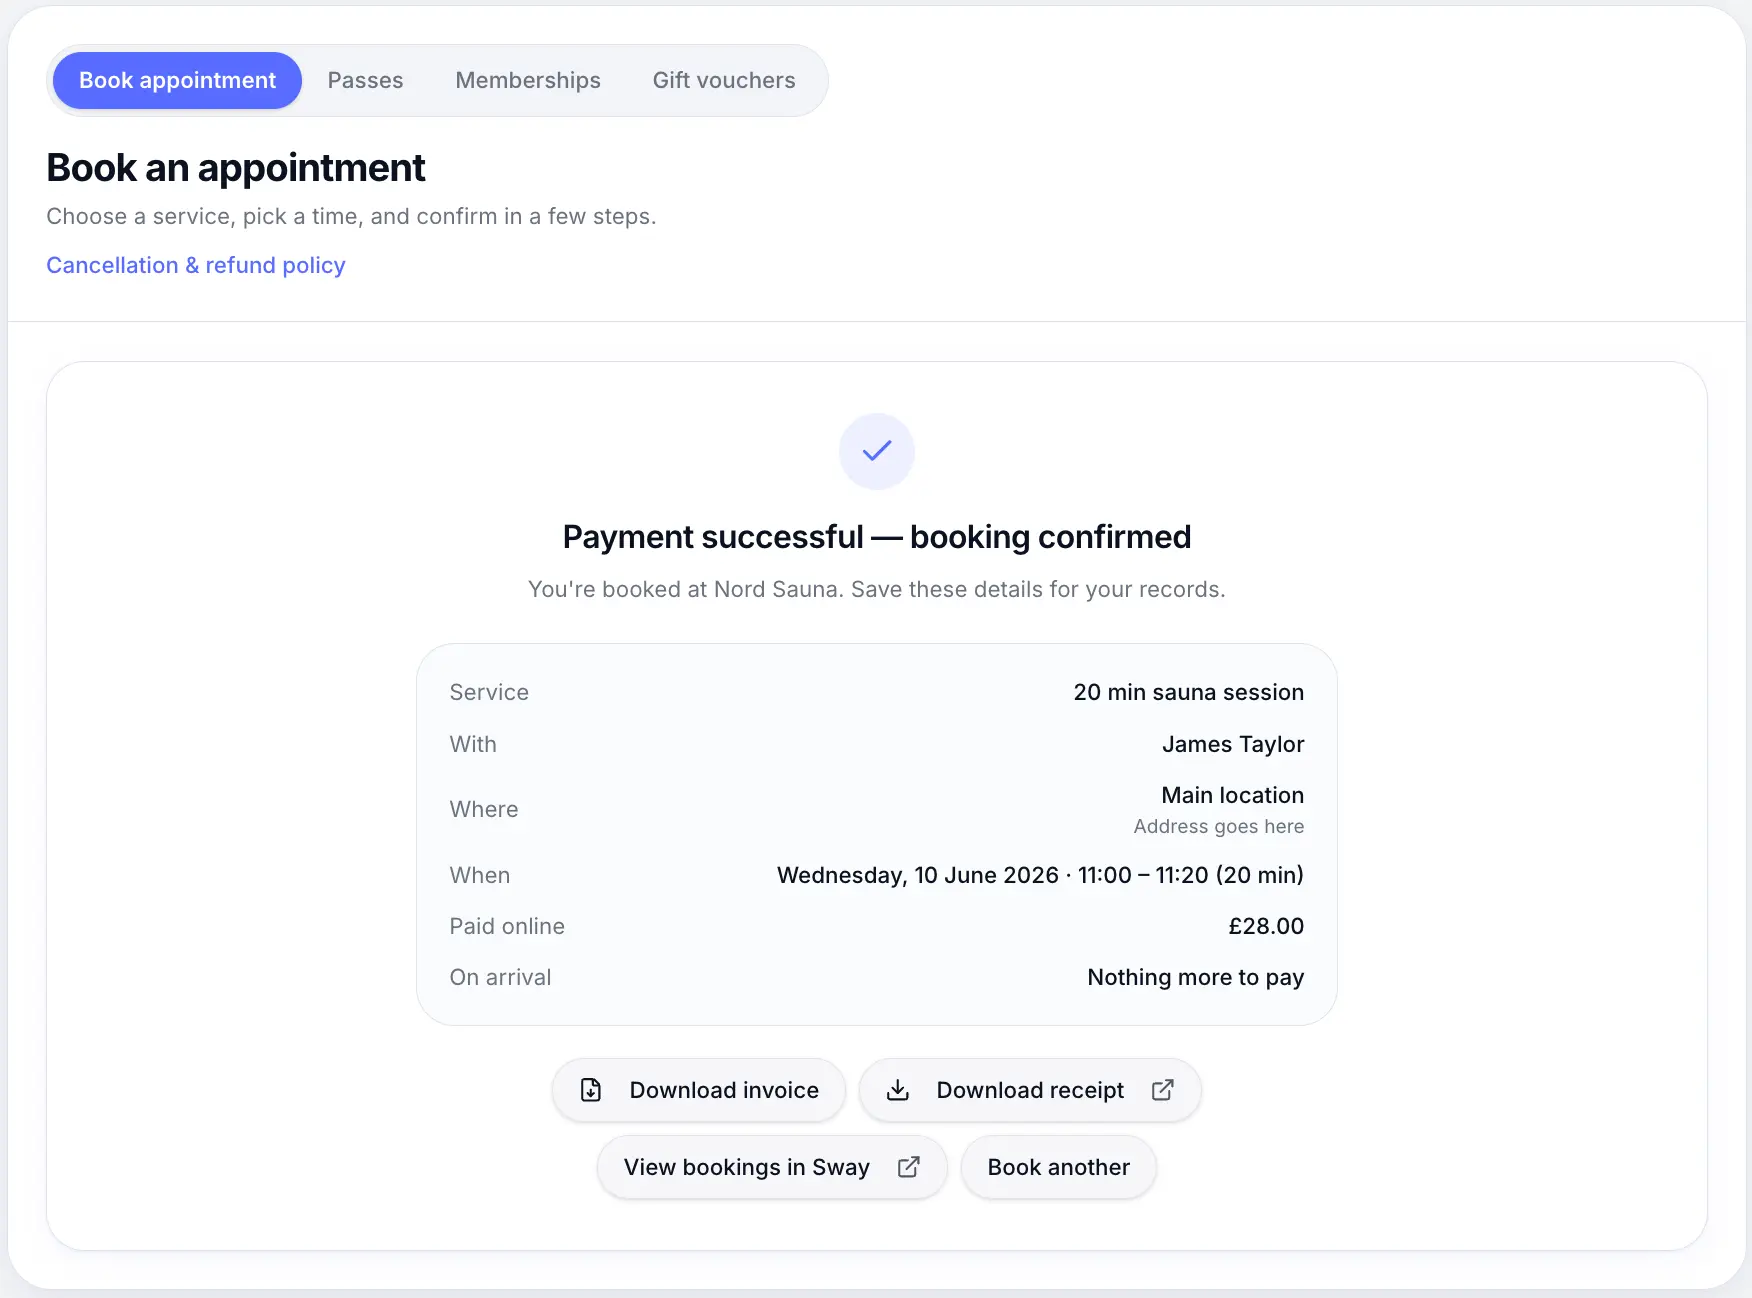
Confirm the full flow works before sharing your link. Share your booking link
Copy your public URL from Business profile or your website embed.
What happens next
New bookings appear on your calendar and in Bookings. Set up email notifications and review your plan limits if you expect high volume.
Open Calendar in SwayCommon questions
Frequently asked questions
Your public page is live once services are published. Use a test booking to verify everything looks right.
Related articles
Settings
Setting business hours
Set which days you're open and your daily opening times for customer bookings.
Settings
Connecting Stripe for payments
Connect Stripe to accept deposits and full payments online at booking.
Plans & billing
Sway plans compared
Compare Free, Individual, and Team plans — features, limits, platform fees, and which plan fits your business.
Still need help?
If this article didn't answer your question, search the help centre or contact our support team.
Sign in to open a tracked support ticket, or use the contact form.